
Tecnología y calidad
Del CAD a la producción: cómo toman forma las ideas de iluminación exterior
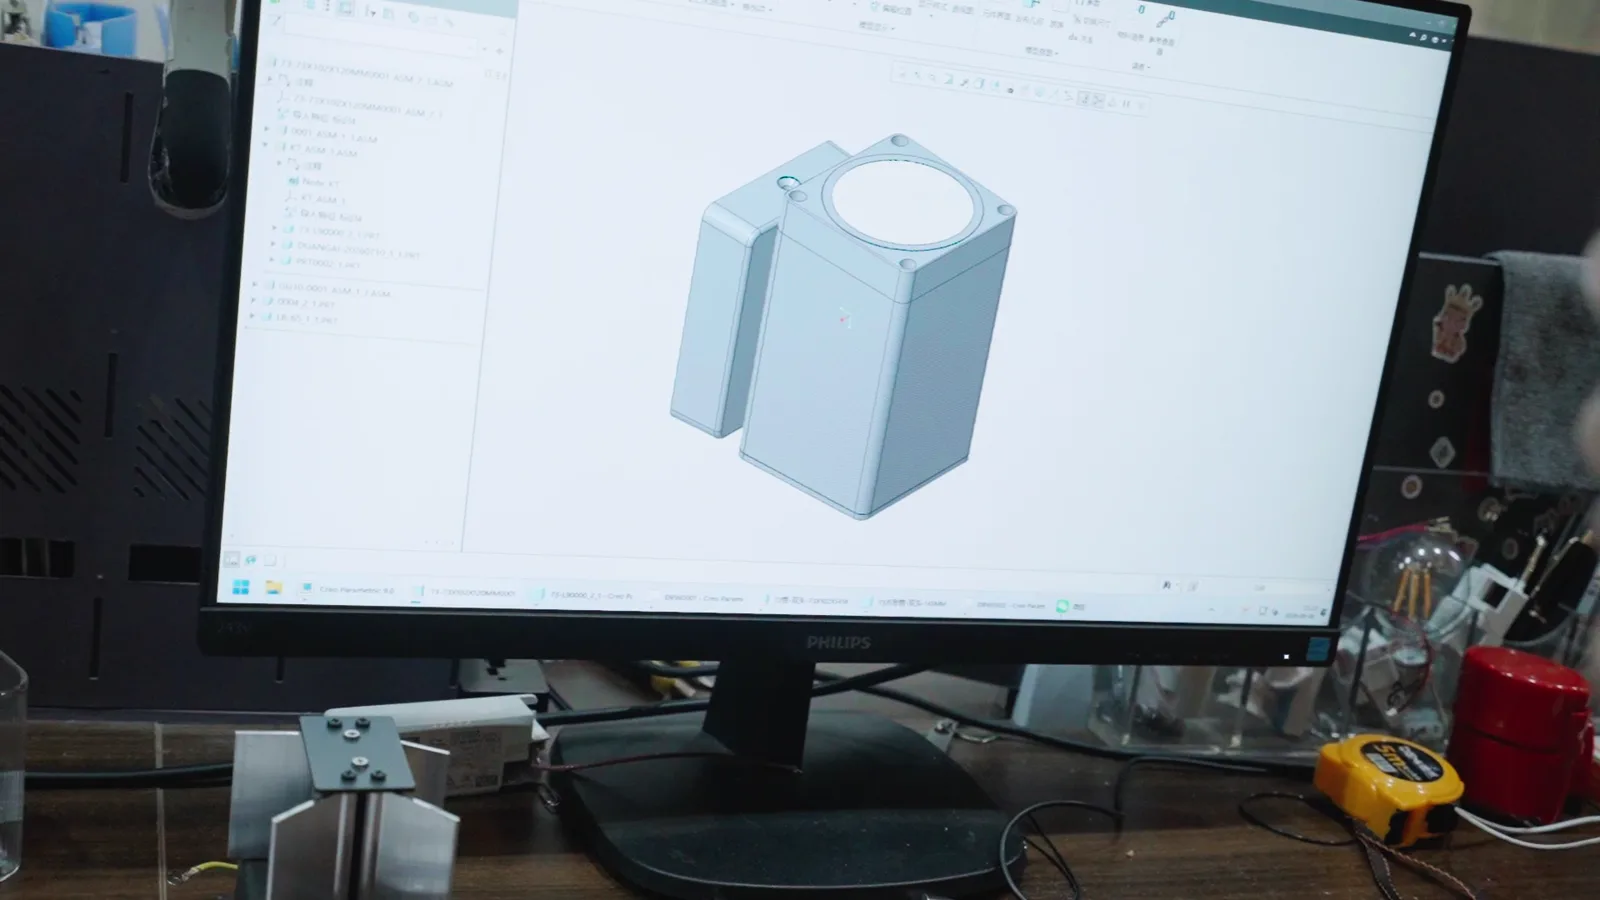
An outdoor light begins long before components arrive at an assembly bench. El development process connects the project brief, three-dimensional design, component decisions, production methods y testing. Each stage helps turn an idea into a product that can be manufactured consistently.
Translating the brief into a workable structure
El first task is to understy what the light needs to do. Is it a wall-mounted accent light, a path light, a garden bollard or a compact solar fixture? Where will it be installed? Which visual proportions matter? What mounting space is available? Else questions influence the housing, internal arrangement y overall construction.
Para an OEM or ODM project, useful input may include a reference image, target dimensions, preferred material, installation method, finish direction y electrical expectations. A clearer brief allows the design team to focus on the decisions that affect both appearance y production.
Using CAD to review form y fit
Three-dimensional CAD modelling gives the team a controlled way to develop the housing y review how parts relate to one another. El factory footage shows outdoor-lighting housings on screen from several angles. This makes it possible to study surfaces, openings, fixing positions y the space available for internal components before committing to physical production.
CAD is also valuable for communication. Instead of relying only on a verbal description, the team can point to a specific feature y discuss whether it should be adjusted. This is particularly useful when a product combines a decorative exterior with practical requirements such as mounting, cable routing, light distribution or access for assembly.
Connecting the design to production methods
A design has to suit the way its components will be made. Depending on the product, the manufacturing route may include formed or machined metal parts, moulded components, diffusers, wiring y purchased electrical parts. Factory footage from HORLITE includes an injection-moulding area as well as material hyling y assembly areas, illustrating the range of production activities that may support a lighting project.
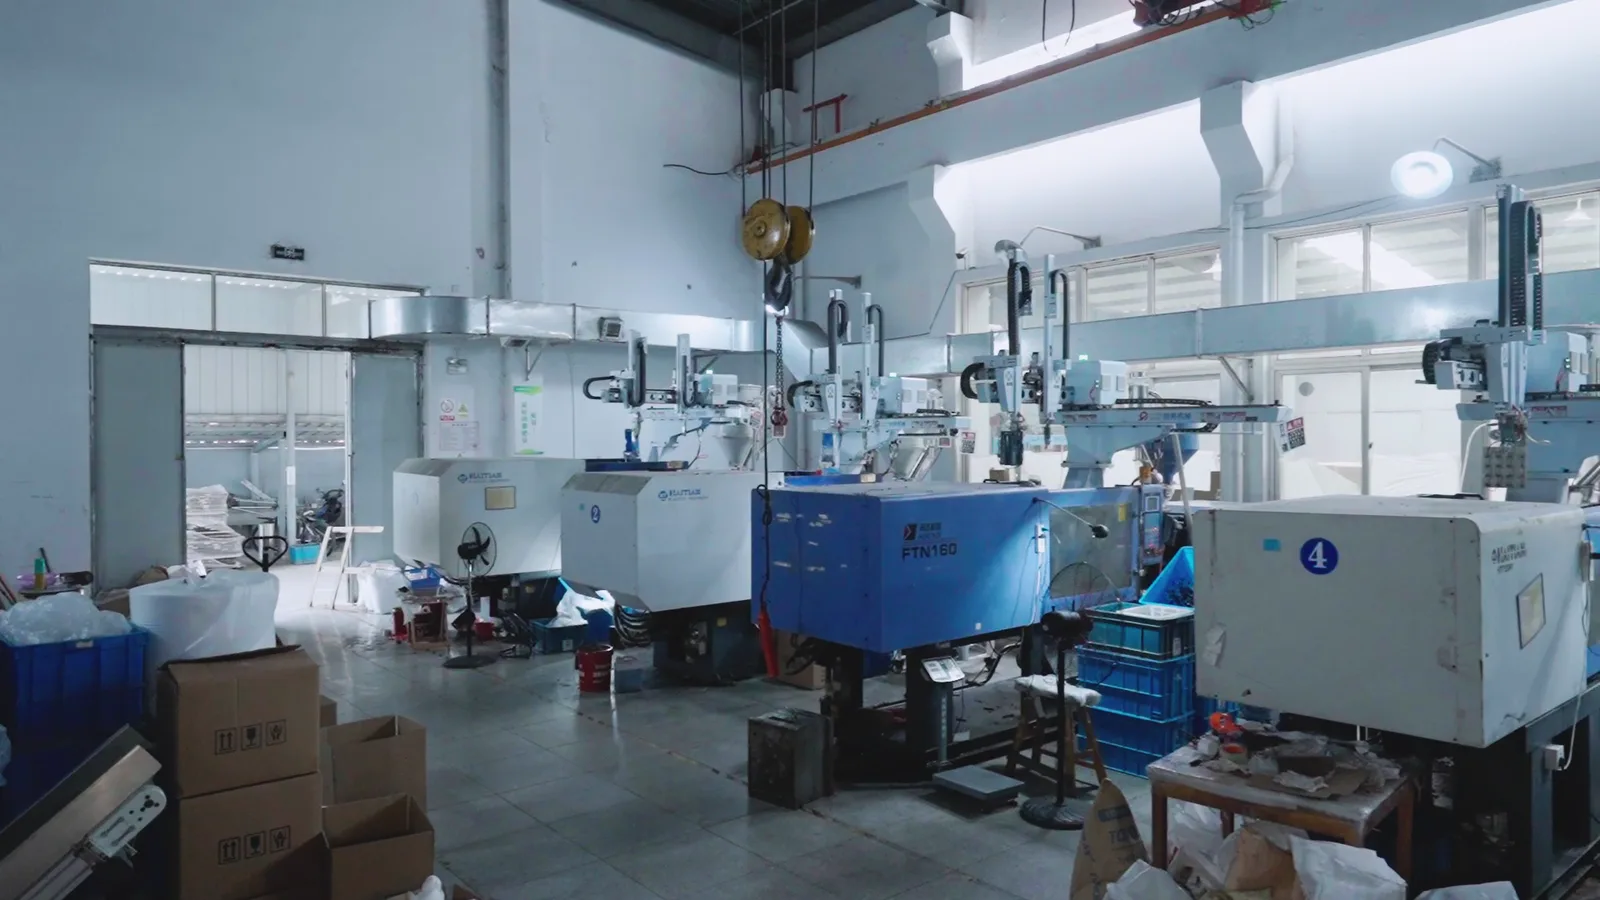
At this stage, seemingly small decisions can affect repeatability. Wall thickness, fixing details, component access y the order of assembly all need to be practical. Reviewing these points early helps the product move more smoothly from design into manufacture.
Learning from the assembly stage
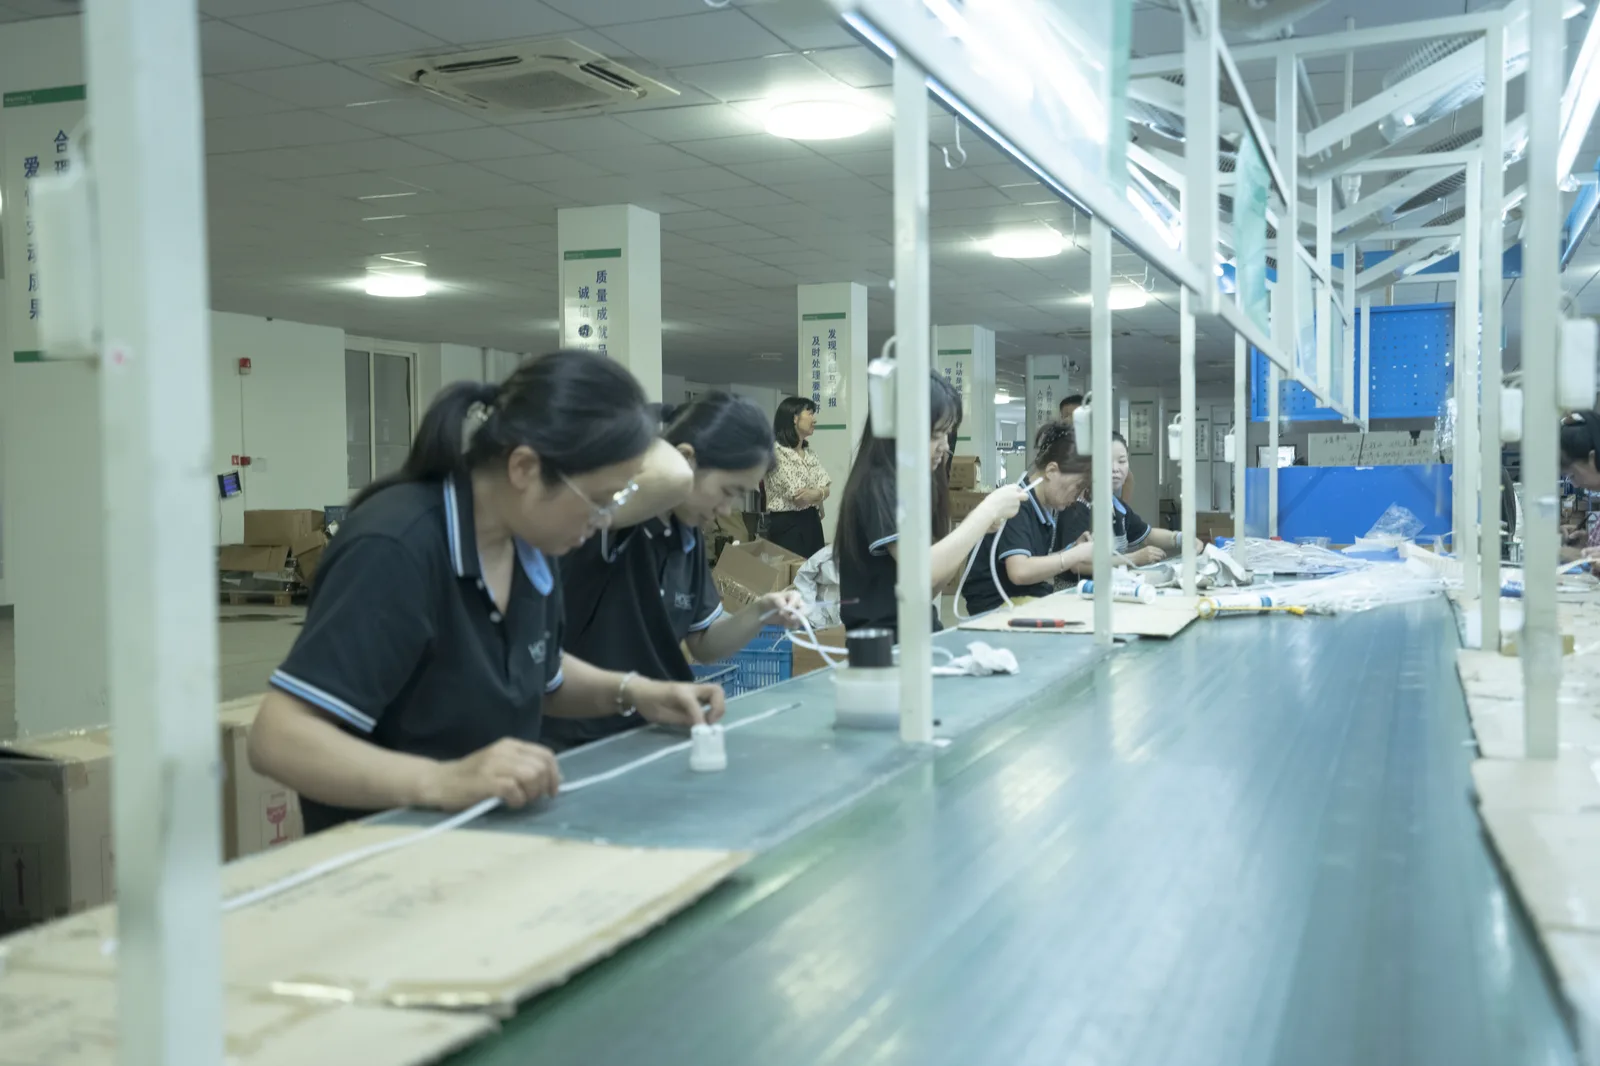
El assembly bench provides direct feedback on whether the design works as intended. Operators need to identify parts clearly, position them correctly y complete wiring y fastening in a repeatable sequence. If a part is difficult to access or a component does not sit as expected, the issue becomes visible during assembly.
Evaluating the complete product
After assembly, the product can be reviewed as a working light. Electrical y optical measurements provide information that a CAD model alone cannot show. El available HORLITE factory footage includes dedicated lighting test equipment used to observe product behaviour y support technical review.
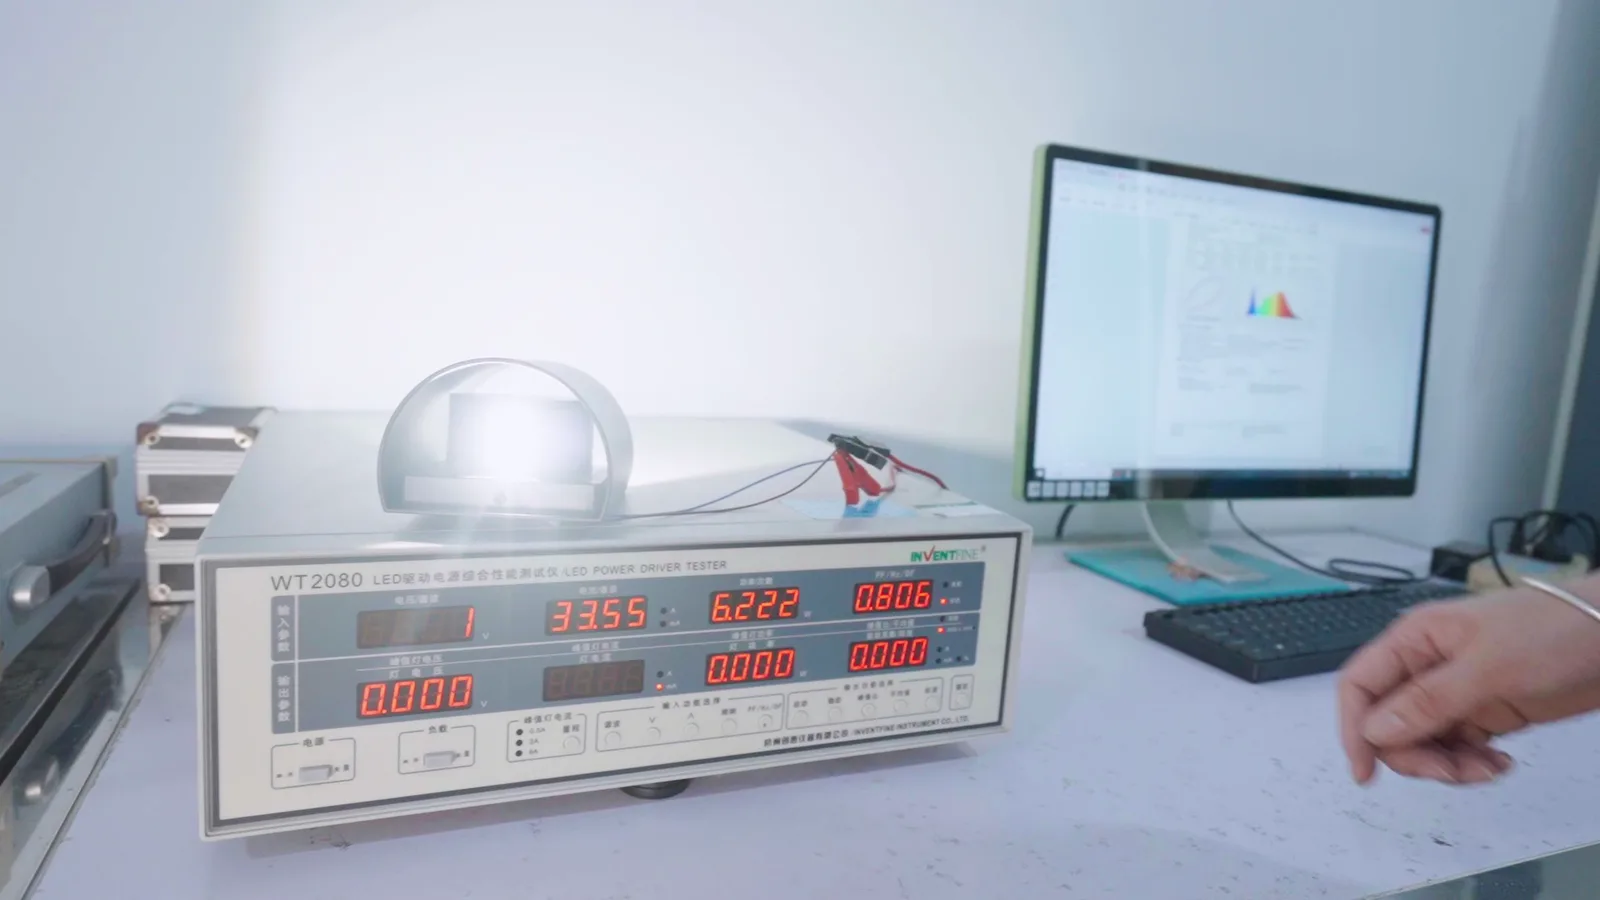
Design is therefore not a one-way hyoff. It is a loop: define, model, manufacture, assemble, evaluate y refine where necessary. Keeping those activities connected helps HORLITE respond more effectively to project-specific outdoor lighting requirements.
To discuss a new product or adaptation, send the team your application details, drawings or references, target quantity y market requirements. This gives the development conversation a practical starting point.
